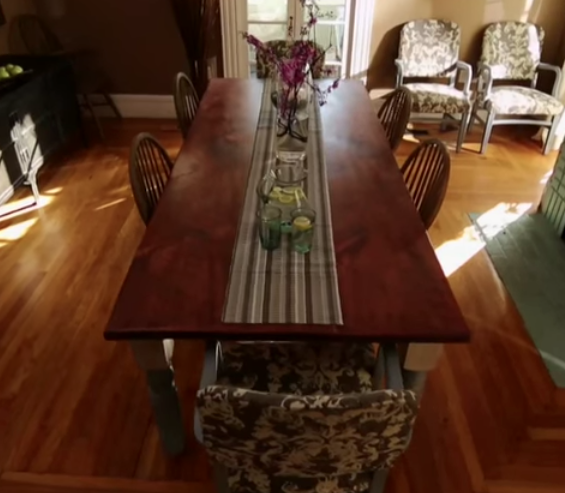
The dining room table is a gathering place for family and friends over meals. As it has such an important social function in your home, it's best to ensure that you have a table that you and your guests will enjoy! This DIY project for a salvaged dining room table is for you if you want to replaced your outdated table with something unique and truly yours. The sense of satisfaction you'll get from displaying your table will be worth all the effort. Let's get started!
As always, you need to first gather your materials. For the top, you'll need some sturdy planks. 2 inches thick or so is good, and make it sufficiently large for a roomy table. You can find leftover wood at your local recycling center for wood - there is usually plenty to choose from! You'll also need to get some sturdy legs for your table. One option that you can opt for is to use old Victorian porch posts as the sturdy table legs. Considering the look of this table will be a bit rugged, adding in some of that older architecture will lend a greater sense of grandeur to the table.
While this table is possible to do yourself, contracting a carpenter is not a bad idea as well. The dining room table needs to be sturdy and structurally sound, considering it is so heavy and you want it to be safe for eating on in your home. If you're new to carpentry, you should especially consider hiring a carpenter so this project gets done correctly.
Now, let's start in on how this project is done:
- First. you'll need to plane the edges of the planks so they're even with each other, then glue and clamp them together.
- Next, cut and attach braces at each corner. This will add stability to the table. For further support, attach wood pieces on the inside of the base. These can be mismatched, as the underbelly of the table will not be exposed when it's in use.
- Now, you need to sand down the feet of the legs in order not to scratch the floor when you move it inside.
- Secure the posts onto the base.
- Cut the table top to the appropriate size and shape that you'll want it.
- Now is the time to attach the two parts of the table - center the base on the underside of the table top and attach them with 1 1/2 inch wood screws.
- Once they're attached, all that is left is to apply the finishing touches! Choose the stain and/or paint that is right for the table you've made and the theme of the dining room.
We hope you'll consider making your very own dining room table for your summer DIY project. For more information, watch the video below.